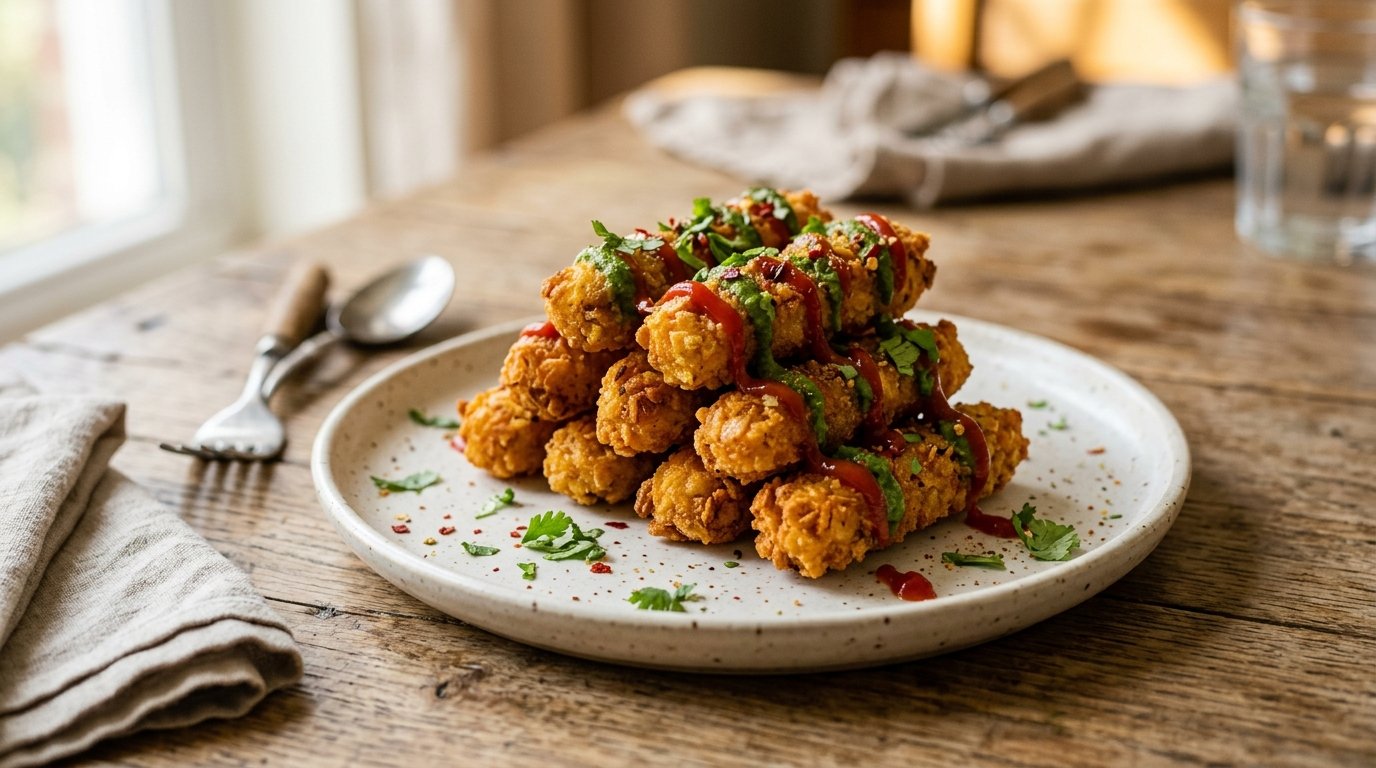
Crispy Poha Potato Fingers: The Ultimate Indian Snack Recipe
There’s something magical about transforming simple pantry staples into crispy, golden snacks that disappear in seconds. These poha potato fingers combine the humble flattened rice with spiced mashed potatoes, creating an irresistible treat that’s perfect for evening tea or unexpected guests. The secret lies in grinding poha into flour, which gives these fried sticks an extra crunch that regular potato fritters simply can’t match. Once you taste these addictive beauties drizzled with tangy chutney and ketchup, they’ll become your go-to snack for any occasion.
Read more: Evening Snack Ideas
Why you’ll love this recipe
This unique snack recipe brings together familiar ingredients in an unexpectedly delicious way that will impress everyone.
- Quick preparation time perfect for last-minute entertaining and spontaneous cravings
- Budget-friendly ingredients already sitting in your pantry right now
- Crispy exterior with soft, flavorful interior that everyone loves
- Customizable spice levels to suit your family’s taste preferences
Ingredients
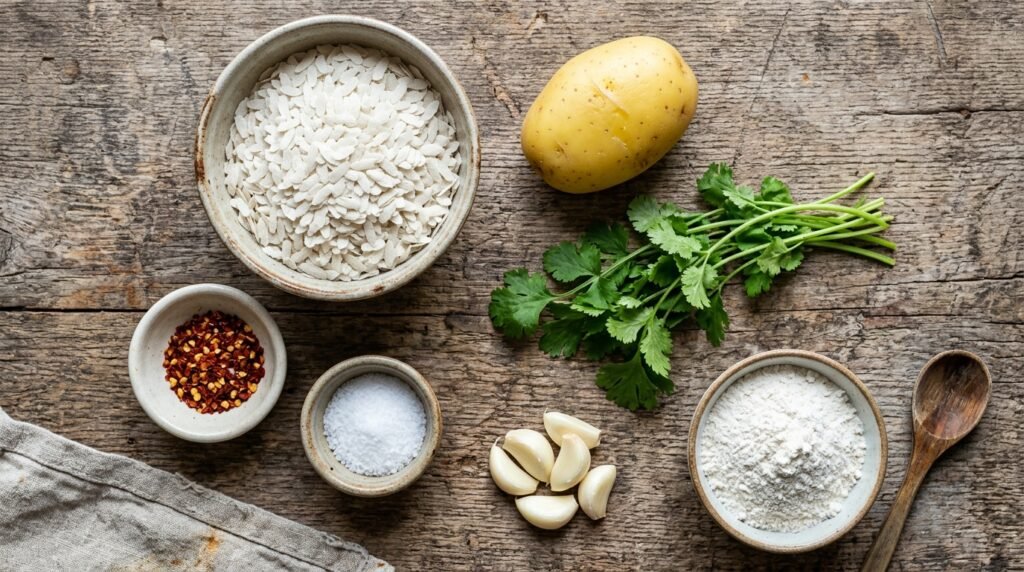
You’ll need simple, everyday ingredients to create these addictive crispy fried poha potato fingers at home today.
- 1 cup poha (flattened rice)
- 2 large boiled potatoes
- 1 tsp red chili flakes
- 1 tsp salt
- 3 cloves garlic
- ¼ cup fresh cilantro, chopped
- Oil for deep frying
- Green chutney for serving
- Ketchup for serving
If you can’t find poha, you can substitute with breadcrumbs or crushed cornflakes for a different texture. Fresh green chilies work beautifully instead of red chili flakes if you prefer authentic heat. Regular flour can replace poha flour in a pinch, though you’ll lose that distinctive crispy quality. Feel free to add finely chopped onions or grated ginger for extra flavor depth and complexity.
You might also like: Homemade Green Chutney
Step-by-step instructions
Follow these detailed steps to create perfectly crispy poha potato fingers that will have everyone asking for your secret recipe.
Step 1: Grind the poha
Place the poha in a blender or food processor and pulse until it becomes a fine flour-like consistency. Transfer to a large mixing bowl and set aside for combining with other ingredients.
Step 2: Prepare the potatoes
Peel the boiled potatoes and grate them using a box grater or potato ricer for the finest texture. Add the grated potato to the bowl with the ground poha flour mixture.
Step 3: Add the seasonings
Sprinkle in the red chili flakes, salt, and freshly pressed garlic cloves over the potato and poha mixture. This builds the foundational flavor profile for your crispy snack fingers.
Step 4: Mix in fresh herbs
Add the freshly chopped cilantro to the bowl and begin mixing everything together with your hands. The herbs add freshness and beautiful green flecks throughout the mixture.
Step 5: Form the dough
Knead all ingredients together until they form a cohesive, slightly sticky dough that holds together when pressed. The poha flour will absorb moisture from the potatoes, binding everything naturally.
Step 6: Shape the fingers
Take small portions of dough and roll them into rectangular finger shapes, about 3-4 inches long. Place each shaped finger into a plastic bag to prevent sticking while you finish shaping.
Step 7: Heat the oil
Pour oil into a deep frying pan or kadai, heating it to medium-high temperature until it shimmers. Test by dropping a small piece of dough—it should sizzle immediately and rise to the surface.
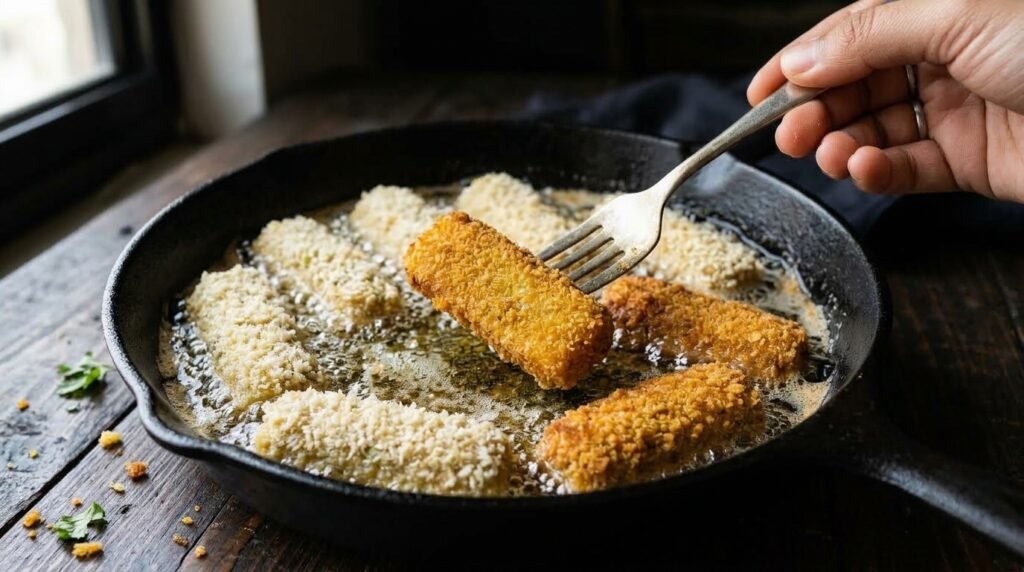
Step 8: Fry until golden
Carefully slide the poha potato fingers into the hot oil, frying for 3-4 minutes until golden brown and crispy. Flip occasionally for even cooking, then drain on paper towels before serving hot.
Tips & common mistakes
Avoid these common pitfalls to ensure your poha potato fingers turn out perfectly crispy every single time you make them.
- Don’t skip grinding poha finely for the best crispy texture
- Maintain consistent oil temperature to prevent soggy or burnt results
- Shape fingers evenly so they cook uniformly in the hot oil
- Let excess oil drain properly before adding sauces and garnishes
Recipe variations
Get creative with these simple twists that transform this basic recipe into exciting new flavor combinations for your family.
- Add grated cheese inside for gooey, indulgent cheesy poha fingers
- Mix in finely chopped spinach for a nutritious green version
- Coat with sesame seeds before frying for extra crunch and nuttiness
- Bake at 400°F for a healthier, less oily alternative option
What to serve with this recipe
These versatile crispy fingers pair beautifully with various accompaniments that complement their savory, spiced flavor profile perfectly.
- Mint-coriander chutney adds fresh, tangy contrast to the crispy fingers
- Sweet tamarind date chutney balances the heat with natural sweetness
- Masala chai or cutting chai makes the perfect evening snack pairing
- Fresh cucumber raita cools the palate between spicy, crispy bites

Don’t miss: Perfect Masala Chai Recipe
Frequently asked questions
Here are answers to the most common questions about making crispy poha potato fingers at home successfully.
Can I make these ahead of time?
Yes, you can shape the fingers and freeze them raw for up to two weeks. Fry directly from frozen, adding an extra minute to cooking time. Alternatively, fry them completely, let cool, then reheat in a 350°F oven for 5-7 minutes before serving.
Why are my fingers breaking apart in the oil?
This usually happens when the mixture is too dry or the oil isn’t hot enough. Ensure your potatoes are moist enough to bind the poha flour properly. Also, test oil temperature before frying—it should be medium-hot, not smoking or barely warm.
Can I use instant poha instead of regular?
Thick poha works best for grinding into flour. Instant or thin poha becomes too powdery and won’t give the right texture. If you only have thin poha, mix it with some rice flour or cornstarch to achieve better binding and crispiness.
How do I keep them crispy longer?
Store completely cooled fingers in an airtight container with a paper towel to absorb moisture. They stay crispy for 2-3 days at room temperature. Reheat in an air fryer or oven instead of microwave to restore crunch before serving.
Final thoughts
These crispy poha potato fingers prove that the best snacks come from simple ingredients and a little creativity. Once you master the technique of balancing moisture and achieving that perfect golden crisp, you’ll find yourself making these addictive treats weekly. Don’t forget to experiment with different chutneys and dips to keep things interesting. I’d love to hear how your batch turned out—drop a comment below with your variations or questions. If you enjoyed this recipe, please rate it and share it with fellow snack lovers who need this in their lives!