Easy No-Bake Chocolate Biscuit Cake Recipe
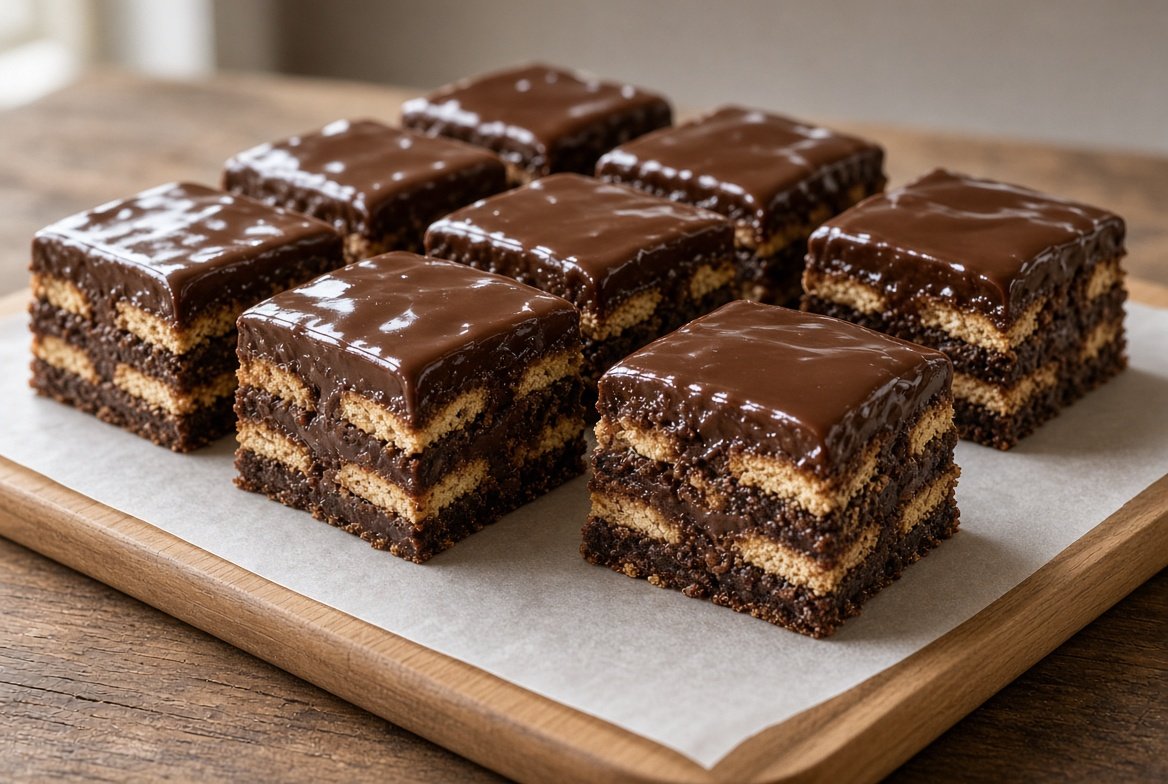
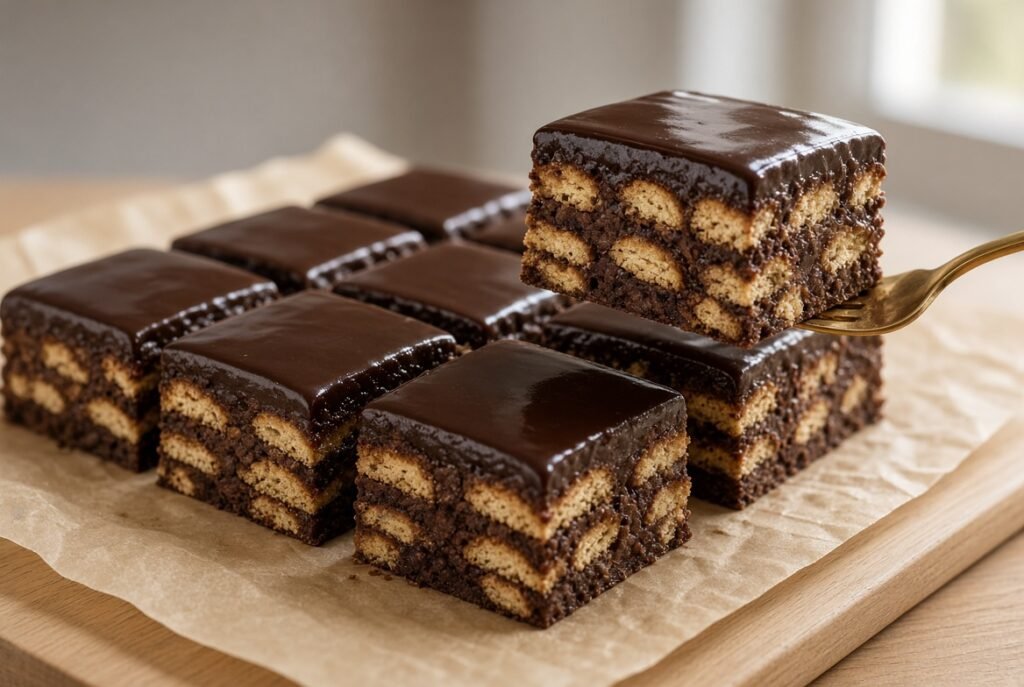
This no-bake chocolate biscuit cake is pure comfort with almost zero effort. Layers of crisp square biscuits sandwich a rich chocolate-biscuit filling, all finished with a glossy chocolate top. It sets in the fridge and slices into perfect bars that look bakery-made. Ideal for last-minute desserts or when you want something impressive without turning on the oven.
Check this out too: Classic chocolate ganache recipe [blocked]
Why you’ll love this recipe
This simple no-bake treat delivers big chocolate flavor with almost no work.
- Requires zero baking and minimal active time
- Uses only a few pantry-staple ingredients
- Sets firm for clean, neat slices every time
- Looks elegant yet tastes nostalgic and rich
Ingredients
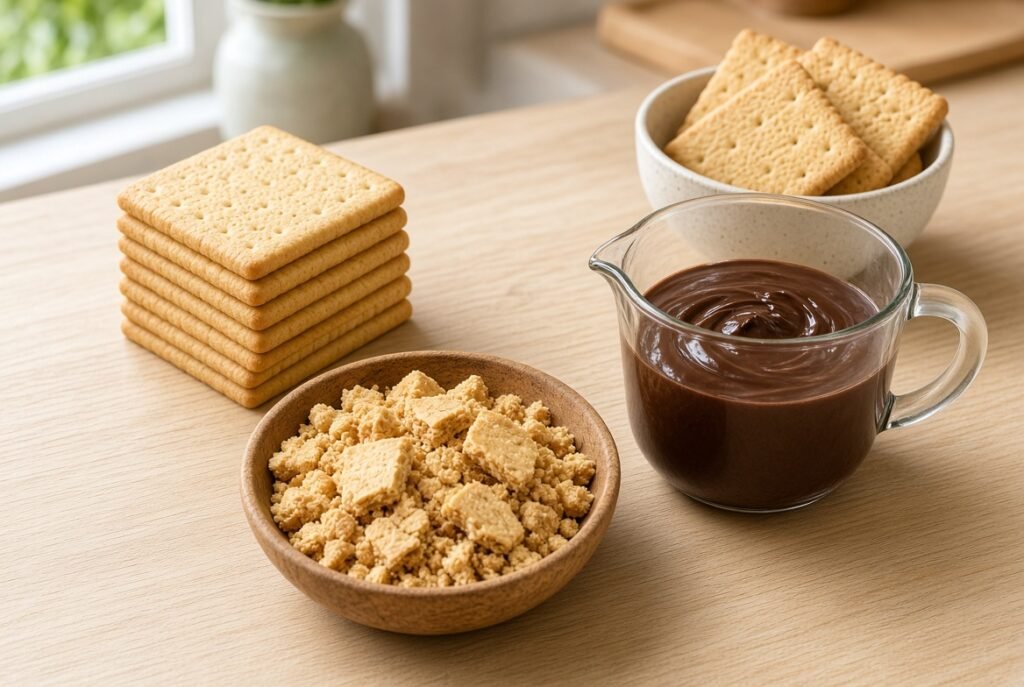
These basic ingredients create a rich, layered chocolate biscuit cake with perfect texture.
- 40 square plain biscuits
- 200 g dark chocolate
- 100 ml milk or cream
- 1 tbsp butter (optional)
You can swap dark chocolate for milk chocolate if you prefer a sweeter result. Dairy-free milk and vegan butter work well for a plant-based version. Digestive or graham crackers can replace the square biscuits without changing the method.
Another reader favorite: Simple chocolate truffles [blocked]
Step-by-step instructions
Follow these easy steps to assemble a glossy, layered chocolate biscuit cake that sets beautifully.
Step 1: Line the mold
Place a square metal frame or cake ring on parchment paper. Arrange a single layer of whole square biscuits to cover the base completely.
Step 2: Crush remaining biscuits
Take about half the remaining biscuits and break them into irregular pieces by hand. Keep some larger chunks for texture inside the filling.
Step 3: Melt the chocolate
Combine dark chocolate with milk or cream in a heatproof bowl. Melt gently until smooth and pourable, stirring in butter if using for extra shine.
Step 4: Mix the filling
Pour most of the melted chocolate over the crushed biscuits. Stir until every piece is fully coated and the mixture becomes thick and sticky.
Step 5: Spread the filling
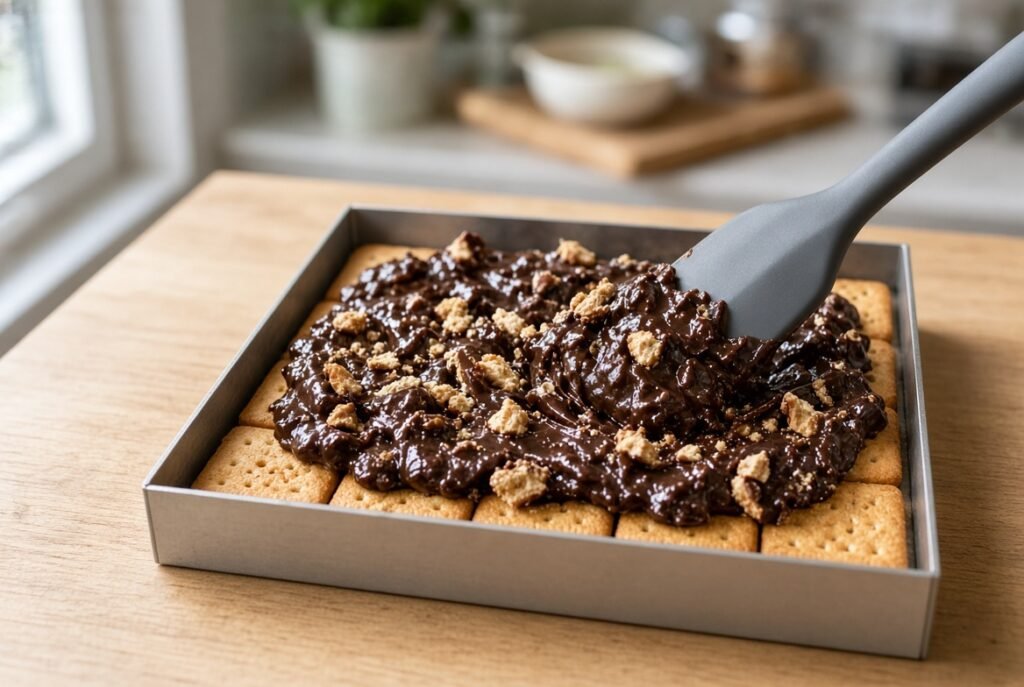
Spoon the chocolate-biscuit mixture over the base layer of whole biscuits. Press it down evenly with a spatula to form a compact middle layer.
Step 6: Add top biscuit layer
Arrange another neat layer of whole square biscuits over the chocolate filling. Press gently so they adhere without sinking.
Step 7: Pour the glaze
Pour the remaining melted chocolate over the top biscuit layer. Spread it smoothly to create a glossy, even coating that covers every edge.
Step 8: Chill and slice
Refrigerate the cake for at least two hours until fully set. Remove the frame, cut into neat squares, and serve.
Tips & common mistakes
A few simple habits guarantee clean layers and a perfect glossy finish every time.
- Chill thoroughly before slicing for sharp edges
- Use room-temperature chocolate for smooth pouring
- Press layers firmly so the cake holds together
- Avoid overheating chocolate or it may seize
Recipe variations
These easy twists let you customize the chocolate biscuit cake to suit any preference.
- Add chopped nuts to the chocolate filling for crunch
- Use white chocolate for a sweeter, lighter version
- Drizzle melted white chocolate on top for contrast
- Mix in a spoon of coffee for deeper flavor notes
What to serve with this recipe
These rich chocolate bars pair beautifully with simple drinks and light accompaniments.
- Hot espresso or strong black coffee
- Cold glass of milk for classic comfort
- Fresh berries to cut the richness
- Vanilla ice cream on the side
While you’re at it: Homemade chocolate sauce [blocked]
Frequently asked questions
Here are answers to the most common questions about this easy no-bake cake.
How long does the cake need to chill?
Two hours is the minimum for a firm set, but overnight chilling gives the cleanest slices and best texture overall.
Can I make this without a square frame?
Yes, simply use a parchment-lined square baking pan. The frame just makes unmolding cleaner and easier.
How should I store leftover pieces?
Keep them in an airtight container in the refrigerator for up to five days. The texture stays firm and delicious.
Can I freeze the chocolate biscuit cake?
Yes, wrap individual squares tightly and freeze for up to one month. Thaw in the fridge before serving.
Final thoughts
This no-bake chocolate biscuit cake proves that the simplest recipes can still feel special. The combination of crisp biscuits and rich chocolate is always a crowd-pleaser. Make it ahead for gatherings or keep a batch in the fridge for everyday treats. Leave a comment with your favorite variation or rate the recipe so others can discover it too.