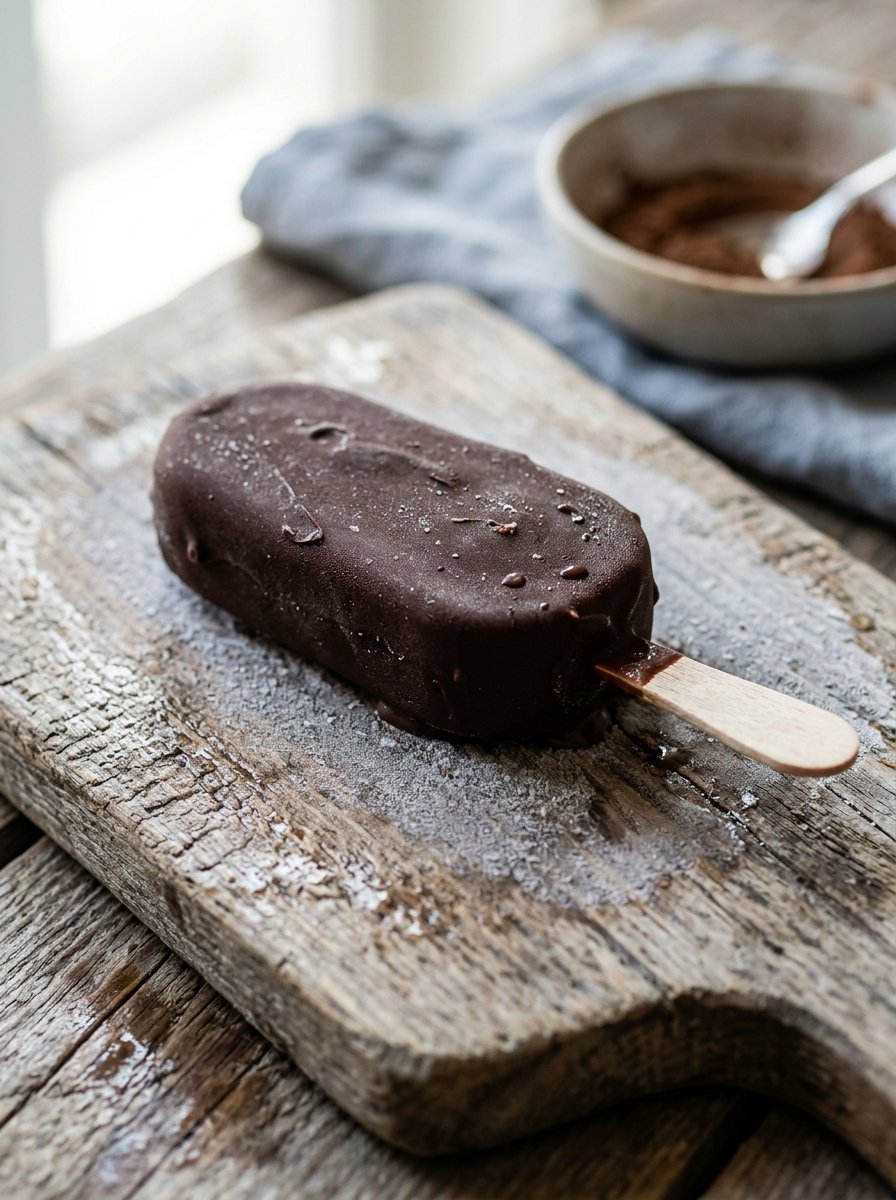
Easy 3-Ingredient Chocolate Ice Cream Bar Recipe Without Cream
Have you ever craved a rich, creamy chocolate ice cream bar but wanted to skip the complicated recipes? This simple 3-ingredient chocolate ice cream bar recipe uses just a chocolate bar, sugar, and milk to create a decadent frozen treat. By using a simple paper cup as a mold, you can easily make these delightful homemade popsicles without any special equipment.
Check this out too: Creamy Vanilla Bean Popsicles
Why you’ll love this recipe
Here is why this simple chocolate ice cream bar will become your favorite summer treat.
- Requires only three basic pantry ingredients for quick preparation.
- Uses a paper cup mold so no special equipment needed.
- Delivers a rich, creamy, and decadent chocolate flavor profile.
- Perfect for making fun frozen desserts with children easily.
Ingredients
To make these delicious homemade chocolate ice cream bars, you only need three simple ingredients.
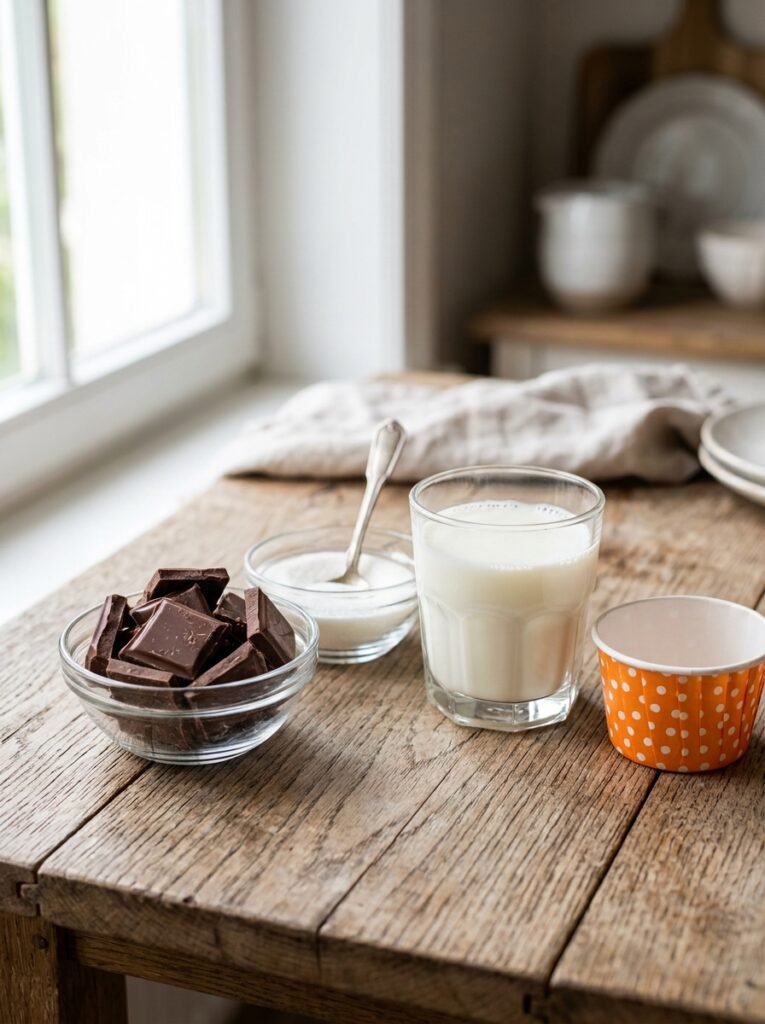
- 1 Cadbury Dairy Milk chocolate bar
- 2 tbsp white granulated sugar
- 1 cup whole milk
You can easily swap the Cadbury Dairy Milk for any other milk chocolate or dark chocolate bar depending on your preference. If you want a dairy-free version, substitute the whole milk with coconut milk or almond milk. Adjust the sugar quantity based on how sweet your chosen chocolate bar is.
Another reader favorite: No-Churn Strawberry Ice Cream
Step-by-step instructions
Follow these easy steps to create perfectly frozen, rich chocolate ice cream bars in your own kitchen.
Step 1: Coat the paper cup
Melt a small amount of chocolate and brush it evenly inside a paper cup. This creates a delicious outer shell for your ice cream bar.
Step 2: Prepare the chocolate mixture
Place the chocolate bar, sugar, and milk into a mixing bowl. Heat the mixture gently while stirring until the chocolate is completely melted and smooth.
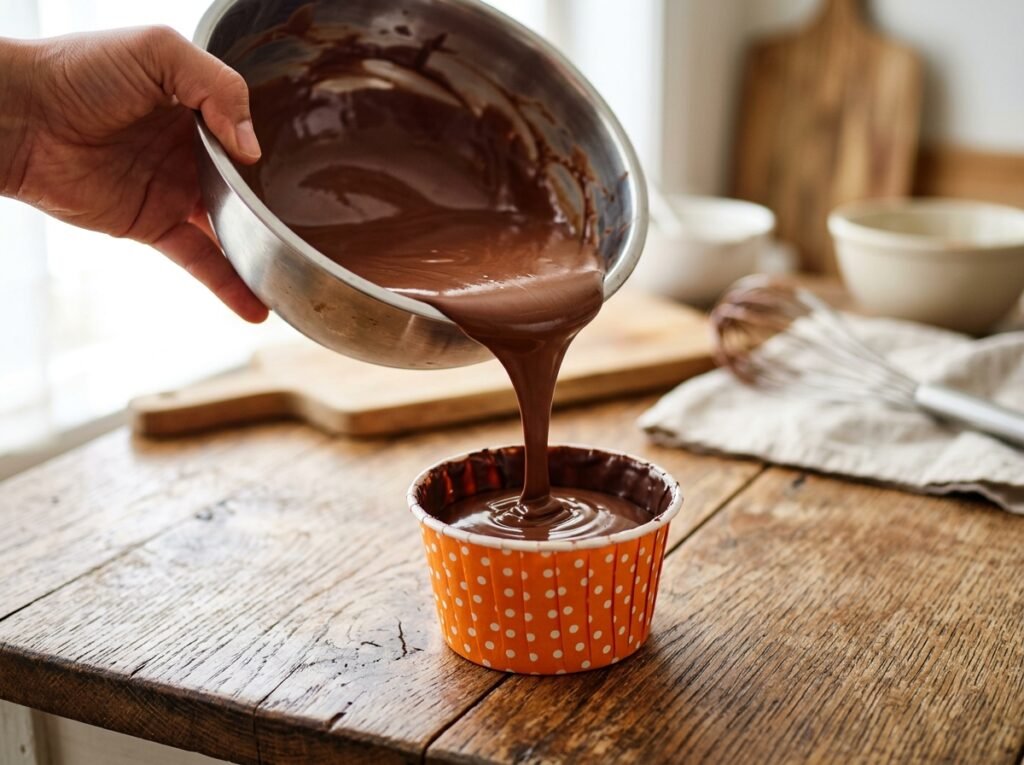
Step 3: Pour the mixture
Carefully pour the warm, smooth chocolate milk mixture into the chocolate-coated paper cup. Fill it almost to the top, leaving a little space for expansion.
Step 4: Cover with foil
Tightly cover the top of the filled paper cup with a piece of aluminum foil. Ensure the foil is sealed well around the edges.
Step 5: Insert the popsicle stick
Use a knife to make a small slit in the center of the aluminum foil. Push a wooden popsicle stick through the slit into the mixture.
Step 6: Freeze the bars
Place the prepared cups in the freezer for at least six hours. This allows the mixture to freeze completely solid before unmolding.
Step 7: Unmold the ice cream
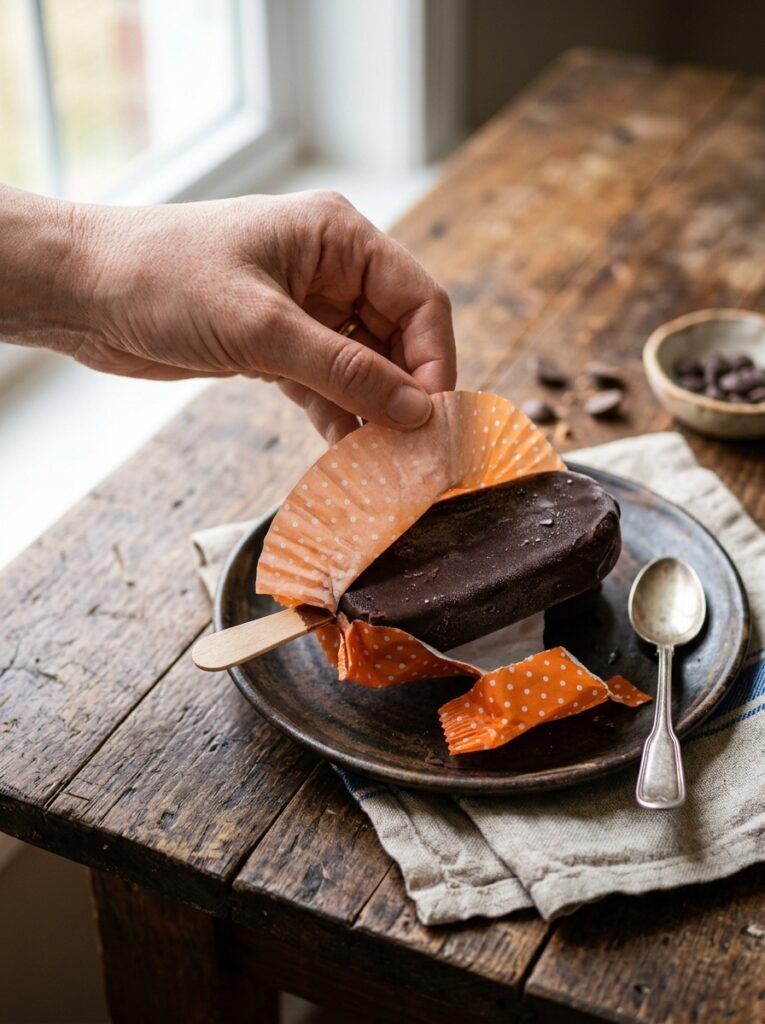
Remove the cups from the freezer and gently tear away the paper cup. The chocolate shell will help the bar hold its shape perfectly.
Step 8: Serve and enjoy
Hold your homemade chocolate ice cream bar by the wooden stick. Serve immediately and enjoy the rich, creamy, and refreshing frozen treat.
Tips & common mistakes
Keep these helpful tips in mind to ensure your chocolate ice cream bars turn out perfectly every time.
- Ensure the chocolate coating inside the cup is completely dry.
- Do not skip freezing for the full six hours minimum.
- Heat the milk mixture gently to avoid burning the chocolate.
- Tear the paper cup slowly to prevent breaking the bar.
Recipe variations
Feel free to customize this basic recipe to create different exciting flavors and textures.
- Add crushed cookies for a crunchy cookies and cream version.
- Mix in peanut butter for a rich chocolate peanut butter bar.
- Use dark chocolate for a more intense, less sweet flavor.
- Swirl in caramel sauce before freezing for a gooey center.
What to serve with this recipe
These rich chocolate ice cream bars pair wonderfully with several refreshing summer sides and drinks.
- Serve alongside fresh sliced strawberries or raspberries for balance.
- Pair with a cold glass of iced coffee or milk.
- Enjoy with warm brownies for a decadent dessert platter.
- Serve with salty pretzels for a sweet and salty combo.
Pairs well with this: Homemade Fudgy Brownie Bites
Frequently asked questions
Here are answers to the most common questions about making these homemade chocolate ice cream bars.
Can I use a different type of milk?
Yes, you can use any type of milk, including almond, soy, or coconut milk. Just keep in mind that the fat content will affect the creaminess of the final ice cream bar.
How long do these ice cream bars last in the freezer?
These homemade chocolate ice cream bars will stay fresh in the freezer for up to two weeks. Store them in an airtight container to prevent freezer burn and maintain their rich texture.
Why did my ice cream bar break when removing the cup?
This usually happens if the bar was not frozen completely solid. Ensure you freeze them for at least six hours, and tear the paper cup away very gently to avoid breaking.
Can I make these without the chocolate coating inside the cup?
Yes, you can skip the chocolate coating step if you prefer. However, the coating adds a nice crunch and helps the bar hold its shape better when you remove the paper cup.
Final thoughts
Making these 3-ingredient chocolate ice cream bars is a fun and rewarding way to enjoy a refreshing summer treat without any complicated steps. The combination of the rich chocolate shell and the creamy frozen center is absolutely irresistible. I hope you and your family enjoy this simple recipe as much as we do. Please leave a comment below and let me know which flavor variations you tried!