Crispy Egg Katsu Recipe with Runny Yolk Center
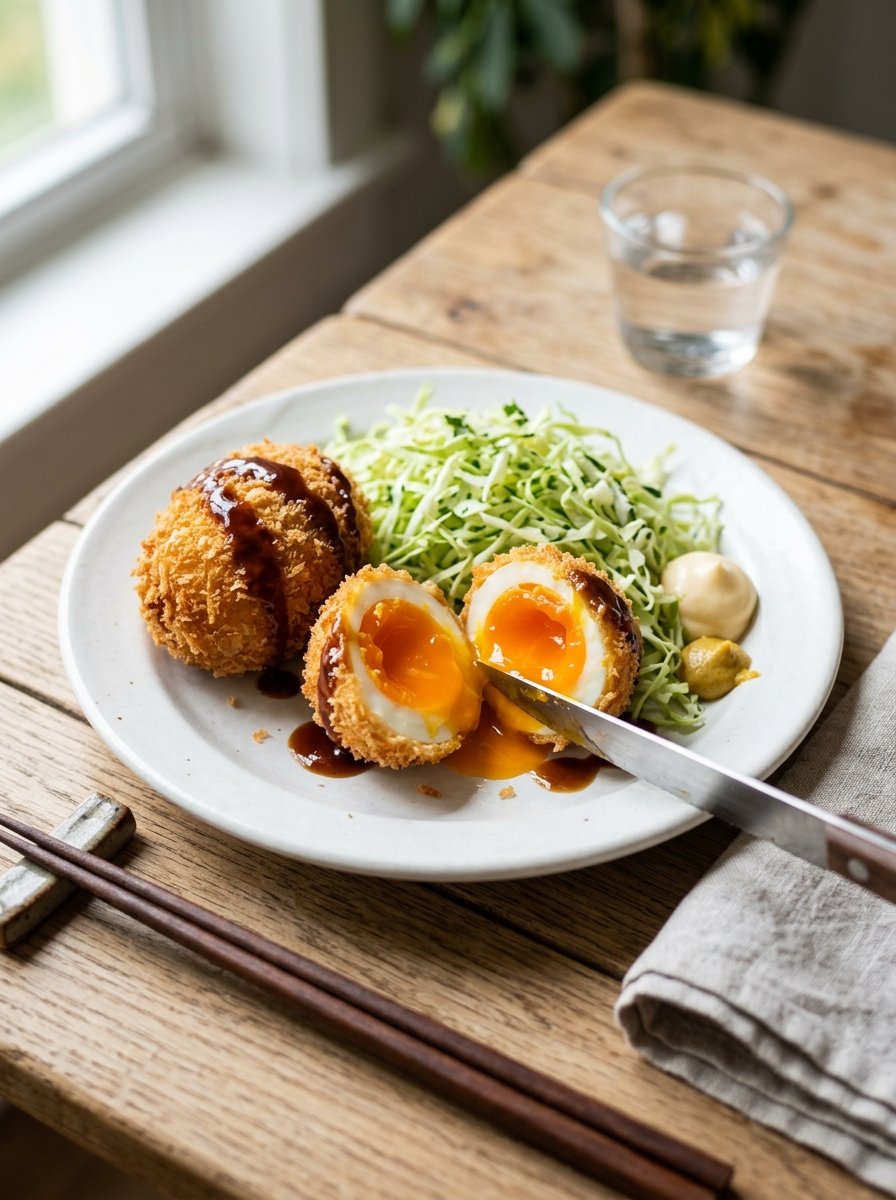
There’s something magical about biting into a golden, crunchy exterior only to find a soft, runny yolk waiting inside. This egg katsu delivers exactly that surprise. Soft-boiled eggs get coated in light batter and panko, then fried until shatteringly crisp. Served with shredded cabbage and a sweet-savory sauce drizzle, it turns a simple egg into an irresistible Japanese-inspired treat that feels special yet comes together quickly on any weeknight.
While you’re at it: Easy tonkatsu sauce homemade [blocked]
Why you’ll love this recipe
This egg katsu is crispy, creamy, and surprisingly simple to make at home.
- Golden panko crust stays crunchy for hours
- Soft-boiled center stays perfectly runny
- Uses basic pantry ingredients you already own
- Ready from start to plate in under thirty minutes
Ingredients
Gather these simple items before you begin for the smoothest cooking process.
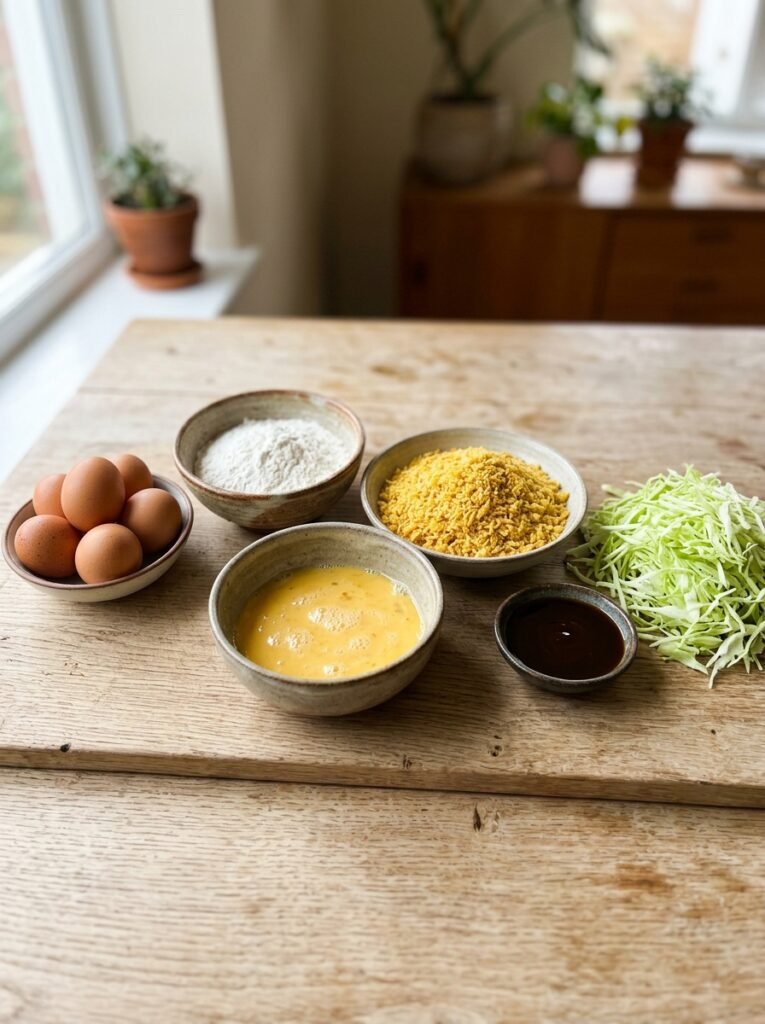
- 6 large eggs
- ½ cup all-purpose flour
- 1 large egg (for batter)
- 1½ cups panko breadcrumbs
- Oil for deep frying
- 2 cups shredded green cabbage
- 3 tbsp tonkatsu sauce
If you cannot find tonkatsu sauce, mix equal parts ketchup, Worcestershire, and a pinch of sugar as a quick substitute. Gluten-free panko or regular breadcrumbs also work if that is what you have on hand.
One more to try: Classic Japanese katsu curry [blocked]
Step-by-step instructions
Follow these eight clear stages for perfectly crispy egg katsu every single time.
Step 1: Soft-boil the eggs
Bring a pot of water to a gentle boil and carefully lower in the eggs. Cook them for exactly six minutes so the whites set while the yolks stay soft and runny.
Step 2: Chill in ice bath
Transfer the eggs immediately into a bowl of ice water. Let them sit for five minutes so the shells loosen and cooking stops completely.
Step 3: Peel the eggs
Gently crack and peel each egg under cool running water. The ice bath makes the shells slip off cleanly without tearing the delicate whites.
Step 4: Prepare the batter
Whisk the remaining egg with flour and a splash of water until smooth. The mixture should coat the back of a spoon without being too thick.
Step 5: Dunk eggs in batter
Place the peeled eggs into the batter and turn them until fully coated. Let excess batter drip off so the panko sticks evenly later.
Step 6: Coat with panko
Roll each battered egg in panko breadcrumbs, pressing gently so the flakes adhere. Aim for a thick, even layer that will fry up extra crispy.
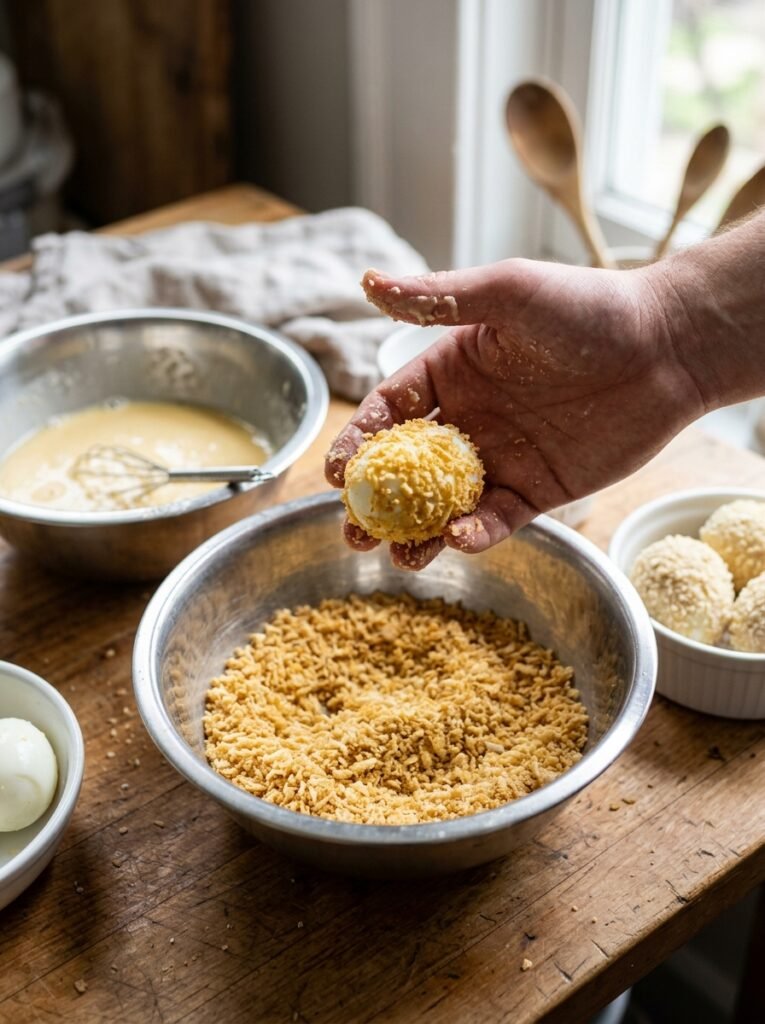
Step 7: Fry until golden
Heat oil to 350°F and carefully lower the eggs in. Fry for two to three minutes, turning once, until the coating turns deep golden brown.
Step 8: Plate and sauce
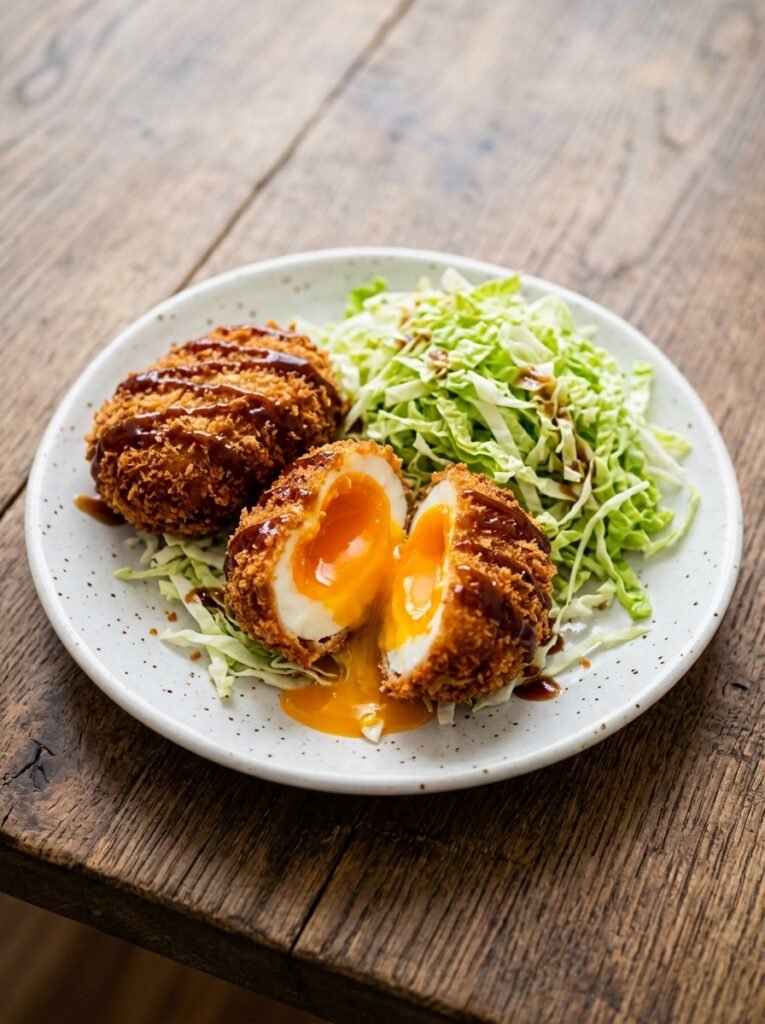
Drain the egg katsu on a wire rack, then arrange on a plate with shredded cabbage. Drizzle generously with tonkatsu sauce and serve right away.
Tips & common mistakes
A few small habits make the difference between good and great egg katsu.
- Keep oil temperature steady to avoid greasy results
- Do not overcrowd the pan or the coating softens
- Peel eggs while still slightly warm for easiest removal
- Serve immediately so the panko stays perfectly crisp
Recipe variations
Simple swaps let you customize this egg katsu to suit any craving or diet.
- Add chili flakes to the batter for a spicy kick
- Use air-fryer method for a lighter, less oily version
- Stuff a thin slice of cheese inside before coating
- Swap regular panko for seasoned Japanese breadcrumbs
What to serve with this recipe
Pair these sides and drinks to turn egg katsu into a complete satisfying meal.
- Steamed short-grain Japanese rice on the side
- Quick pickled cucumber salad for bright contrast
- Cold green tea or light Japanese beer
- Miso soup for a traditional restaurant-style finish
Worth trying next: Crispy chicken katsu sandwich [blocked]
Frequently asked questions
Here are quick answers to the questions home cooks ask most often.
Can I make egg katsu ahead of time?
You can soft-boil and peel the eggs a day ahead, but coat and fry them just before serving so the panko stays crunchy and the yolk stays runny.
Why did my yolk turn hard?
Cooking longer than six minutes or skipping the ice bath causes the yolk to firm up. Stick to the exact timing for that signature soft center.
Can I bake instead of fry?
Baking works in a pinch at 400°F for about fifteen minutes, though the coating will not get quite as shatteringly crisp as deep frying.
How do I store leftovers?
Keep any leftover egg katsu in an airtight container in the fridge for up to two days. Reheat in a hot oven or air fryer to restore crispness.
Final thoughts
This crispy egg katsu proves that a handful of everyday ingredients can create something truly special. The contrast of crunchy panko and silky runny yolk never fails to impress. Give it a try this week, then come back and let me know how it turned out. Leave a rating or share your own twist in the comments—I always love hearing from you.